

Whether you’re a student or a person who wants to design websites (blog/business)without coding from scratch, then congratulations you’re at the right place. You can create stunning websites without coding and internet. In this Blog, I am gonna explain a software MAMP that you can use to design websites locally. What is a local Website? A local Website is a website that is present only on your system (own server) it can be accessed only from your computer/laptop. External hosting is done on the service provider server. In India buying a hosting server, it costs around 3000 per year. If you are willing to learn how to create a personal/business website without paying a penny then MAMP is the best software to practice building websites. Once you learn how to build websites then you can host on the provider’s server for money.
As a student I learned how to build websites on MAMP, then I bought a hosting plan to make my website online. Let’s see how to host a WordPress website locally using MAMP.
What is CMS?
A Content Management System allows you to create, host, and modify websites without coding from scratch. It is a graphical interface with tools that allow for building a website. You have to install a theme for your website and customize it based on your requirements.WordPress is a widely used CMS, almost 70% of website designers use it. WordPress makes your work so much easier. If you are not into technical coding then CMS is the best option. CMS makes anyone design websites without coding.
Example of CMS :
-
- WordPress.
-
- Joomla.
-
- Drupal.
-
- Magento (e-commerce).
-
- PrestaShop (e-commerce).
What is MAMP?
The full form of MAMP stands for Mac, Apache, Mysql, and PHP. MAMP allows to create a local development environment to run websites locally by APACHE and MYSQL server.
How MAMP works?
WordPress needs a server and database to run the website. WordPress CMS is a server-side programming language (Php) and your browser does not understand raw PHP without being first compiled by the server. This is where MAMP is used. MAMP allows us to create a local development environment. It provides an apache server which is an open-source architecture that allows us to run PHP (but also Perl or Phyton).
The second thing is WordPress needs a database to store username, password, and post info and MAMP provides an MYSQL database. MAMP allows you to build websites remotely/locally on the system that load faster than the server-hosted websites.
Step 1: How to install MAMP?
Mamp software is 680 MB. After Visiting the Website click on free download.
It can be downloaded on windows and IOS platforms.
MAMP for Windows And IOS.
You can see download for windows and IOS options. Choose whichever is suitable for you.
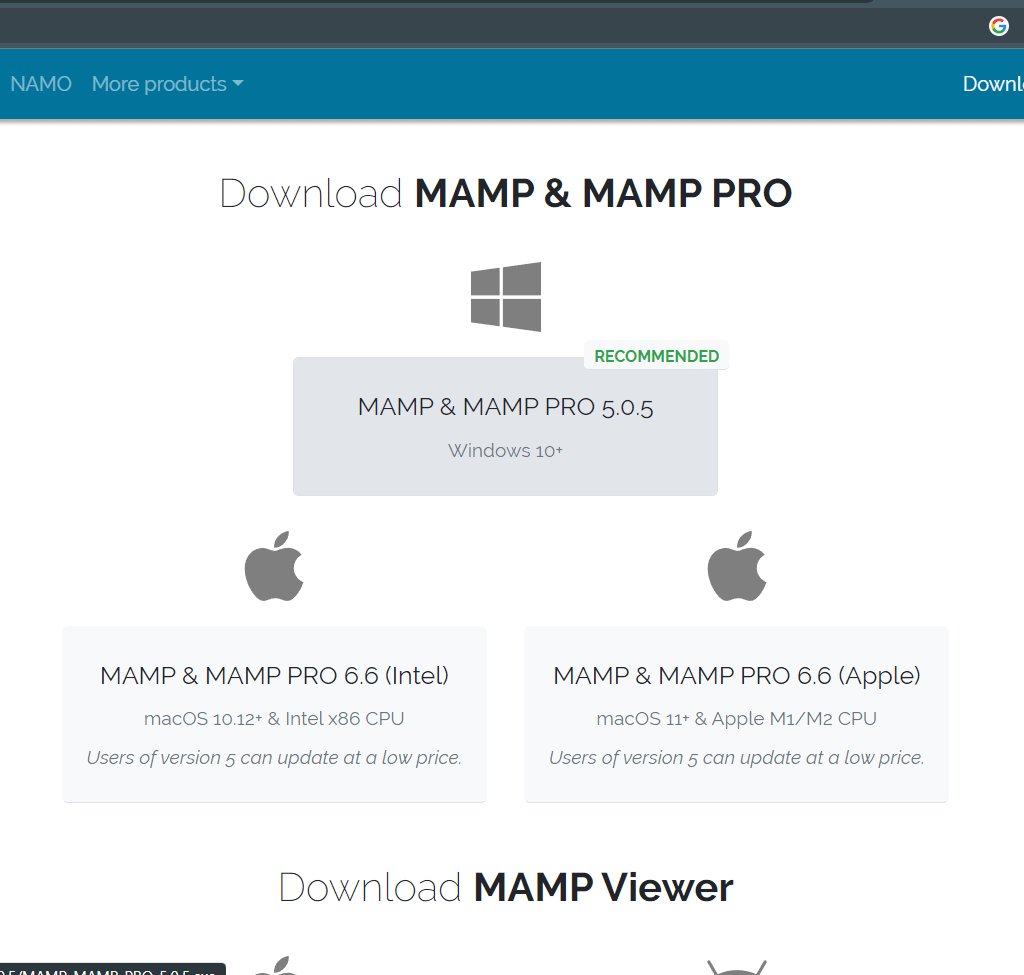
Click on the suitable operating system and download the MAMP software.
Step 2: Installation of MAMP on the System.
After downloading the MAMP, open the .exe file and press a series of next buttons and accept the terms and install it.
From here follow the steps as instructed because a minor mistake gets an error which again needs time to rectify. You are doing it for the first time so be keen while installing this setup.
After Installing run the MAMP by double-clicking on it. You will see the below picture.
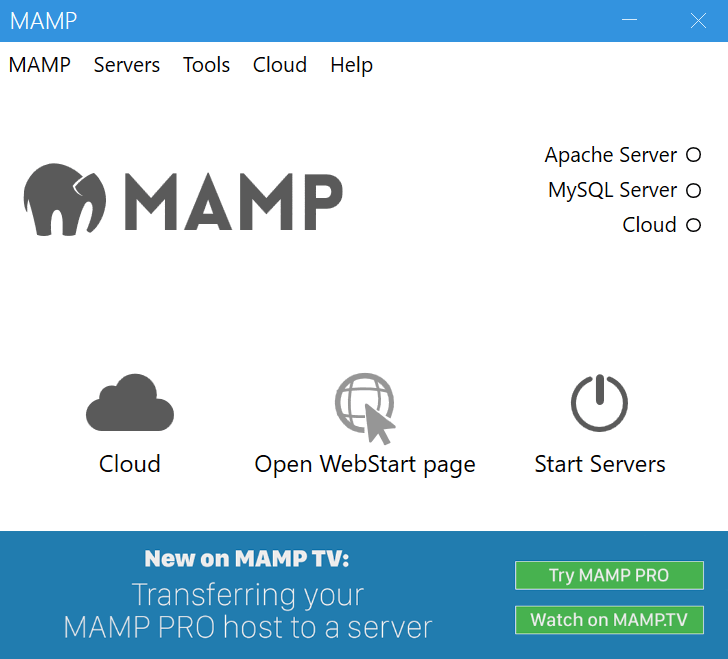
Now you have to click on the start servers icon. Here you can see both apache and MySQL servers show green icons beside indicating that they are started.

Always make sure that both of these servers are on. 90% of the time when you click on the start sever icon both of the servers turn on automatically but very rarely they fail to turn on automatically, so if you notice one of them off then turn it on manually. The reason is that if one of them is off, the website shows an error. When I was working with MAMP I got this error on the website (showing an error establishing Database connection system got no response ), then I started figuring out what was wrong. I know you are thinking that one of the servers is off. Yes, you are correct and I don’t want you to go through these issues as I did. I will make sure to list the minor issues I faced in this blog wherever necessary so you can get a complete idea of this and you don’t have to search again and again to know what has gone wrong.
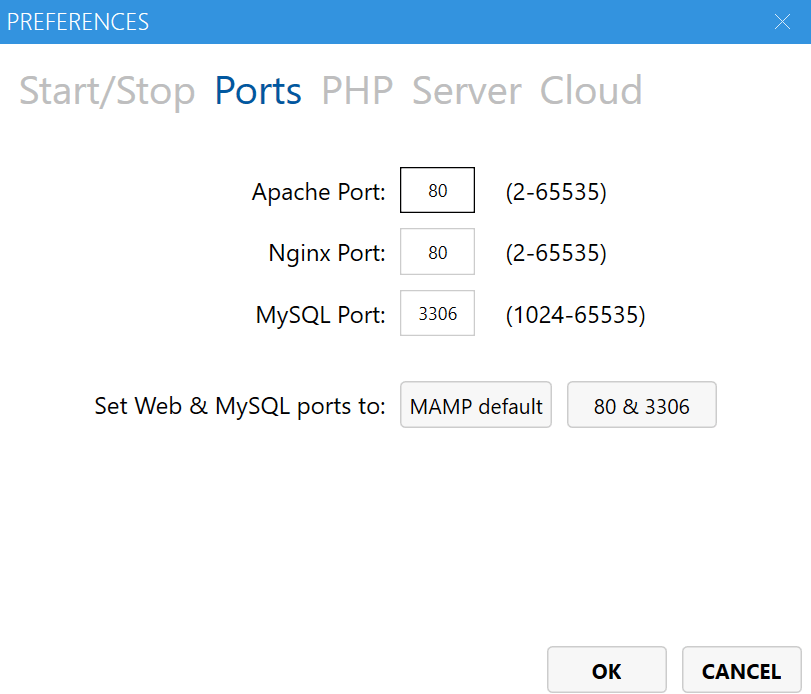
Now click on these preferences and go to the port tab.
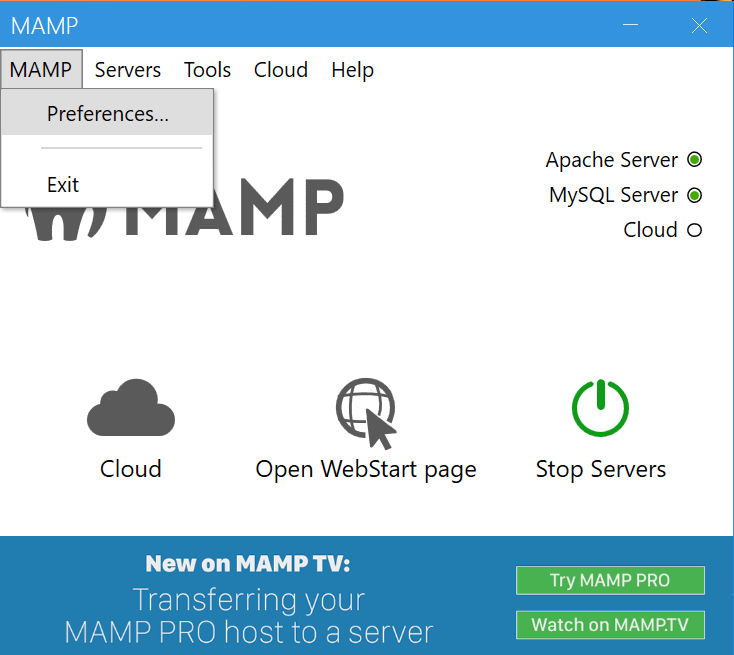
You need to remember this Mysql port number. I will explain it below steps to use this port number.
How to open phpmyadmin in MAMP?
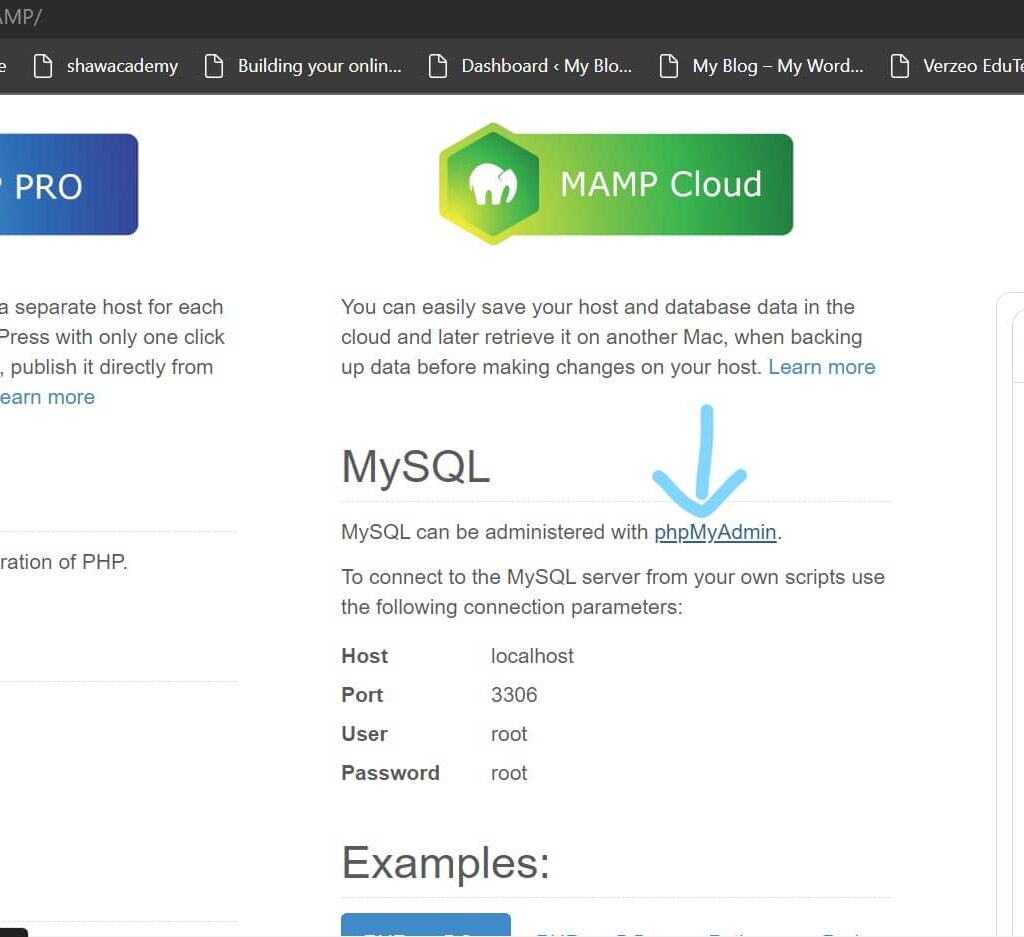
When you click on the open web page (besides the start server) then you will see the below image. Here also you can see the host, port, user, and password which are used in the next steps for creating a database connection. You can choose anyway.
Step 3: Create a folder in htdocs.
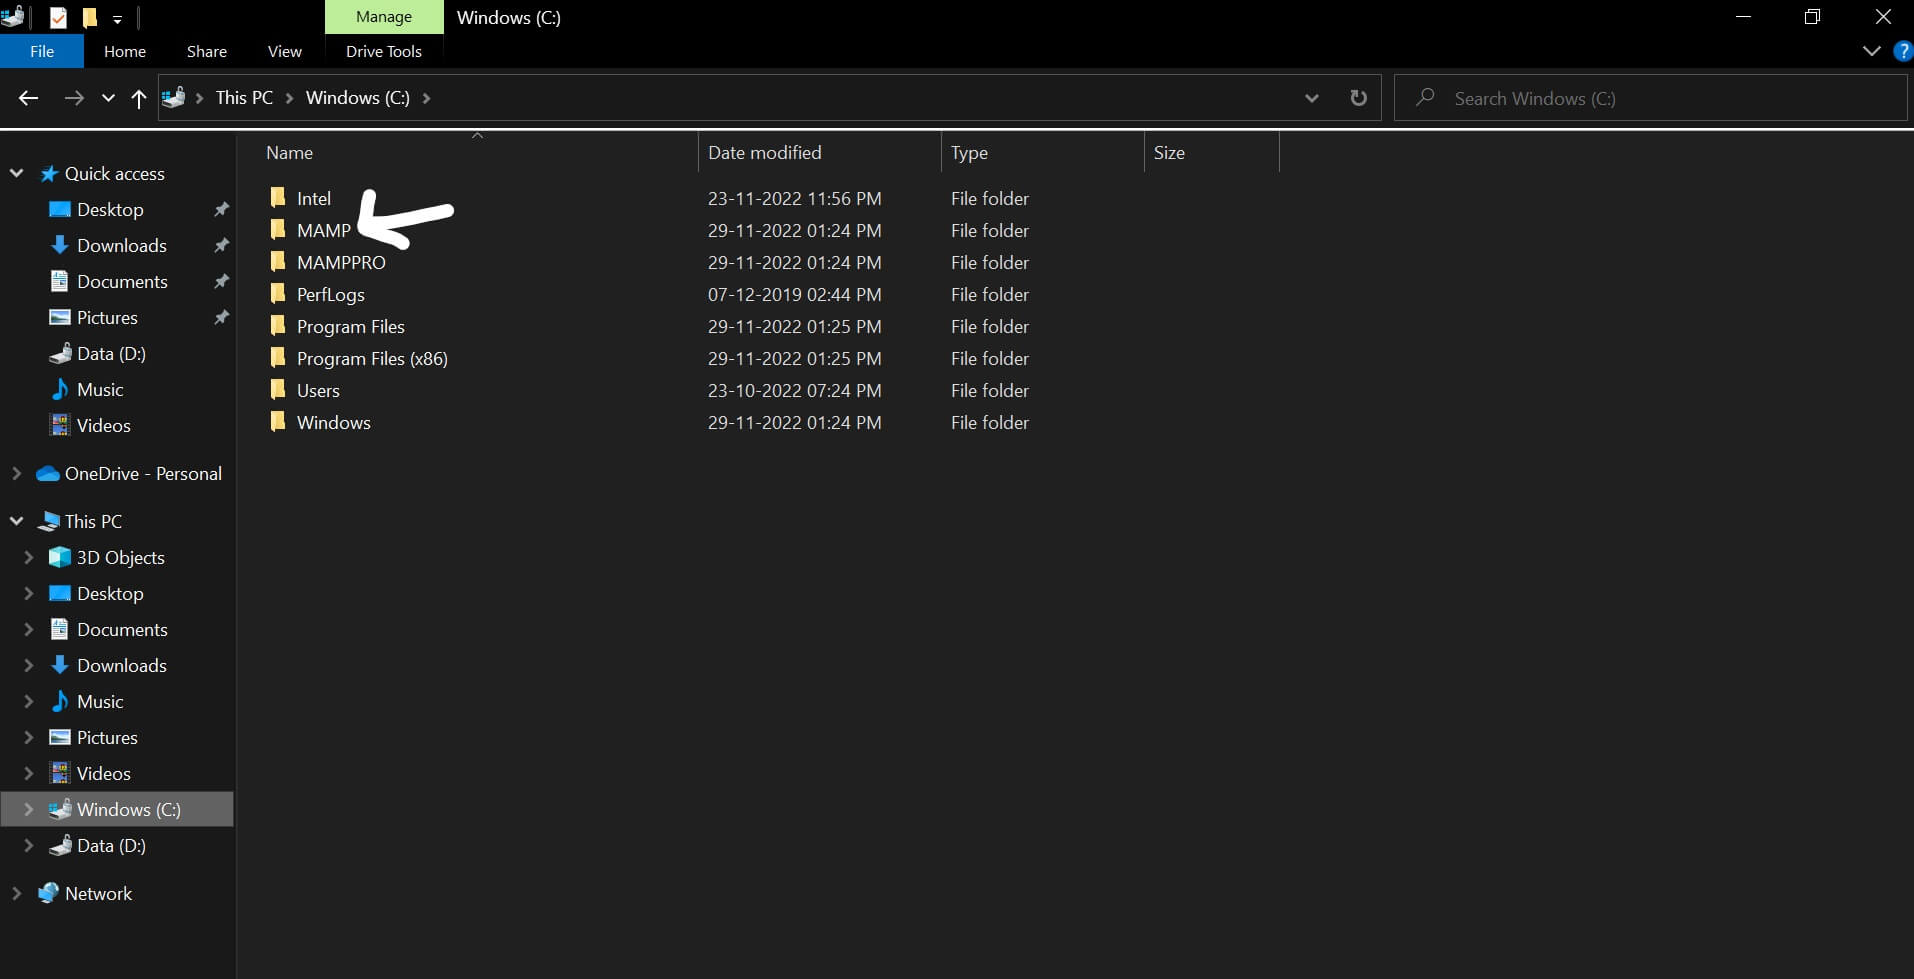
Go to your folder where MAMP is installed(Mostly it will be in C drive ). If you cannot find it go to applications and click on the location of the folder (just in case).
Click on the MAMP folder and go to htdocs folder where our WordPress and website files are stored.
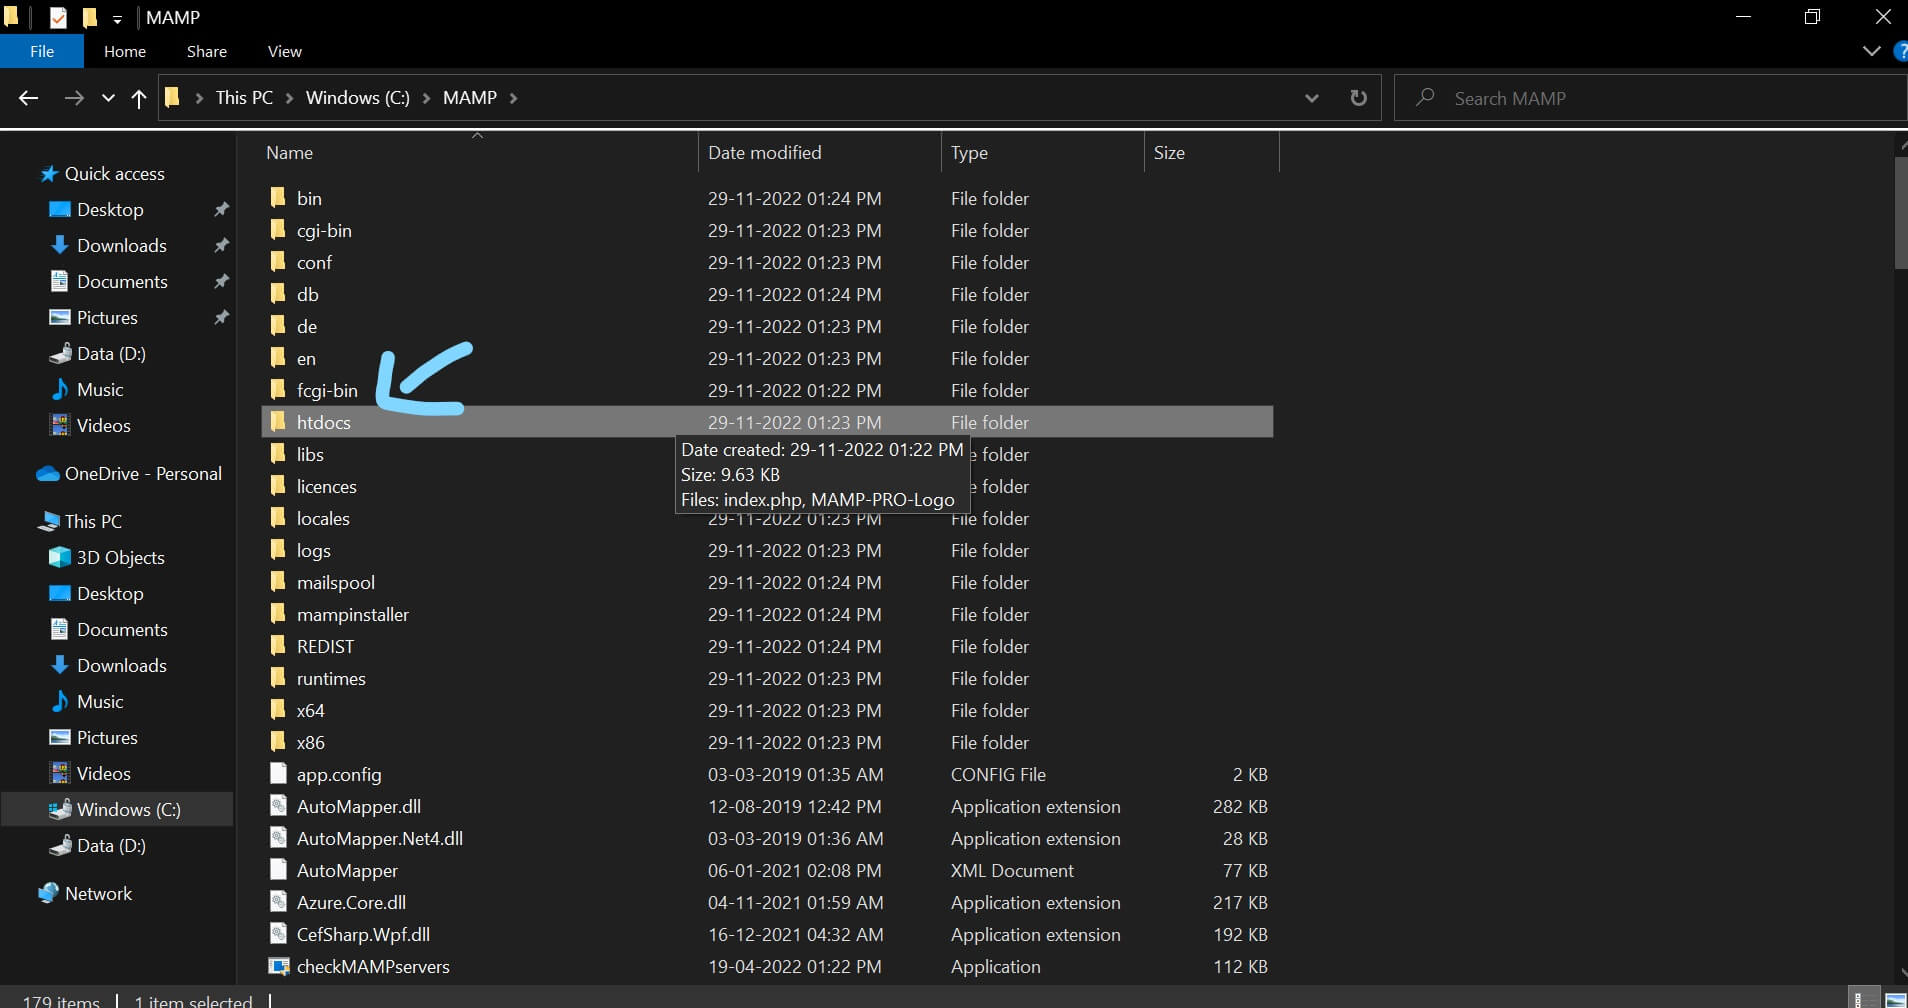
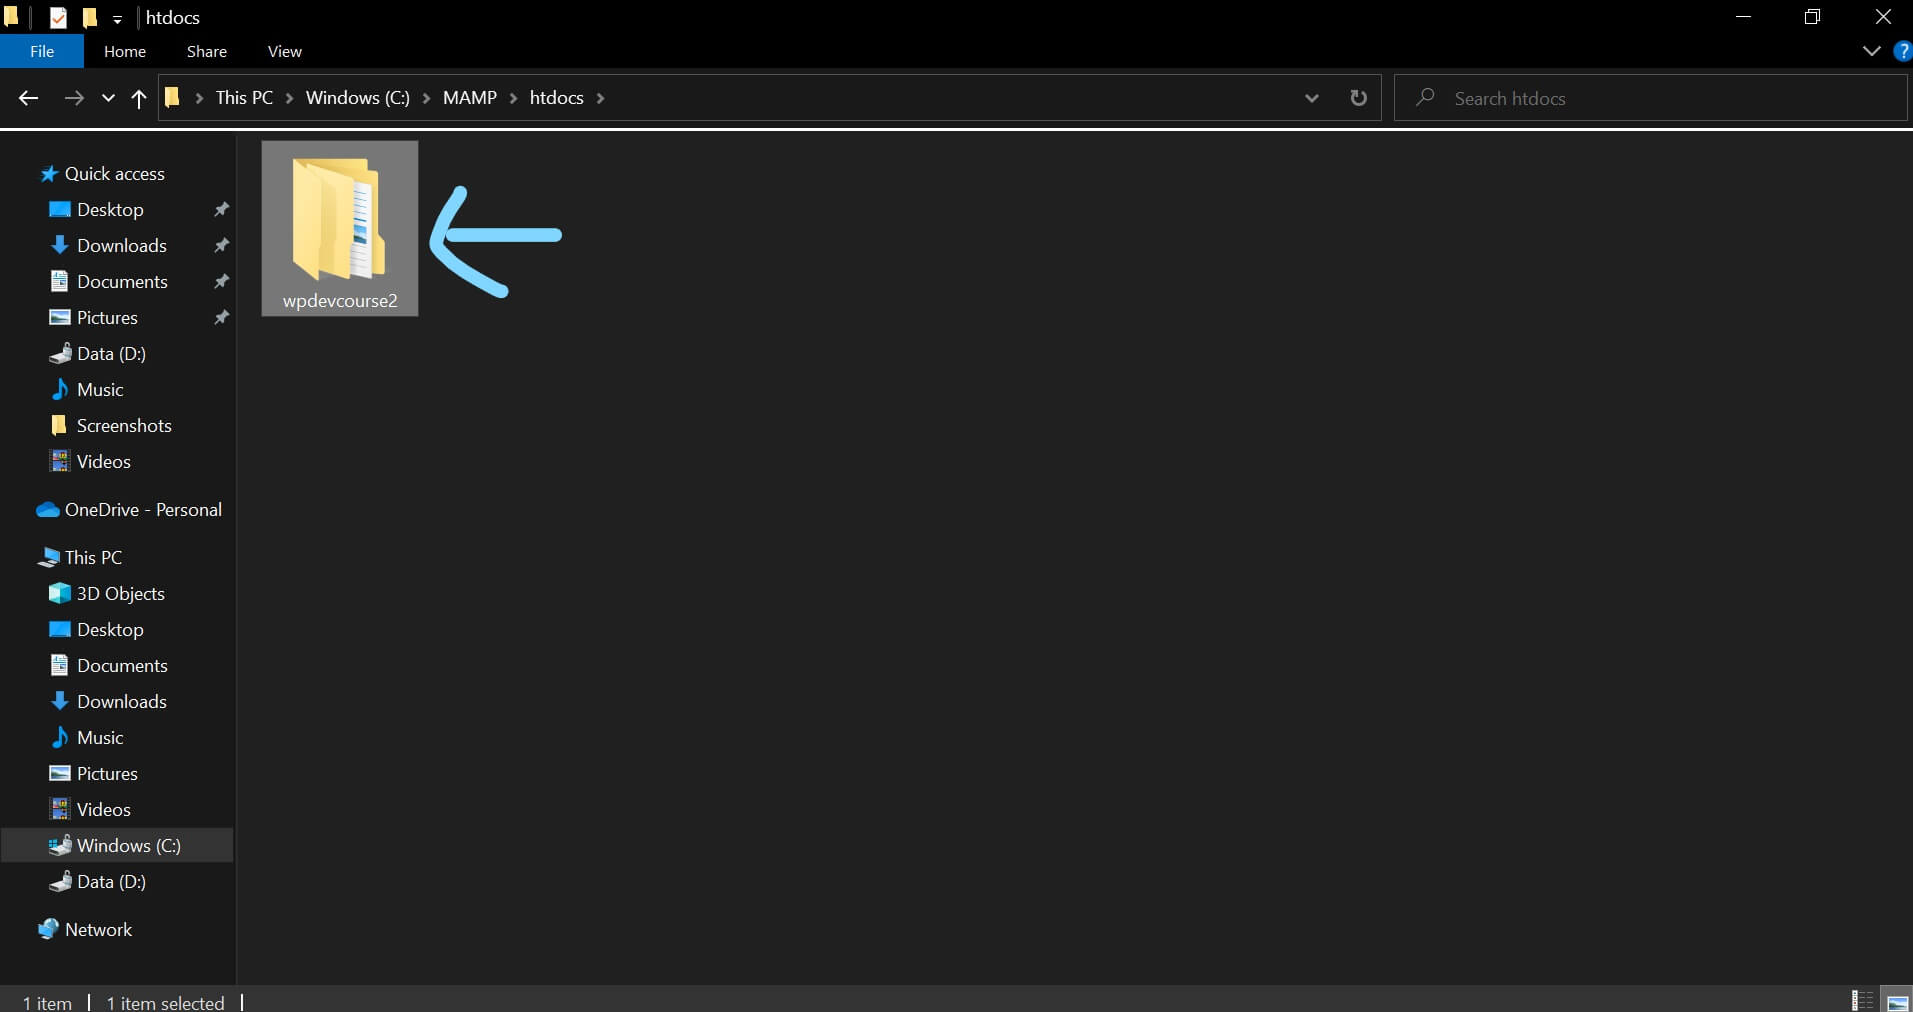
Open htdocs and create a folder “wpdevcousre2”.Here I created this folder you can create any folder. Just remember the name of the folder as you will create a database in PHPmyadmin using the same name. Avoid giving spaces and capital letters, just give one-word name for the folder so that it is easy to remember.
You completed 80% of the steps, just a few more to go.
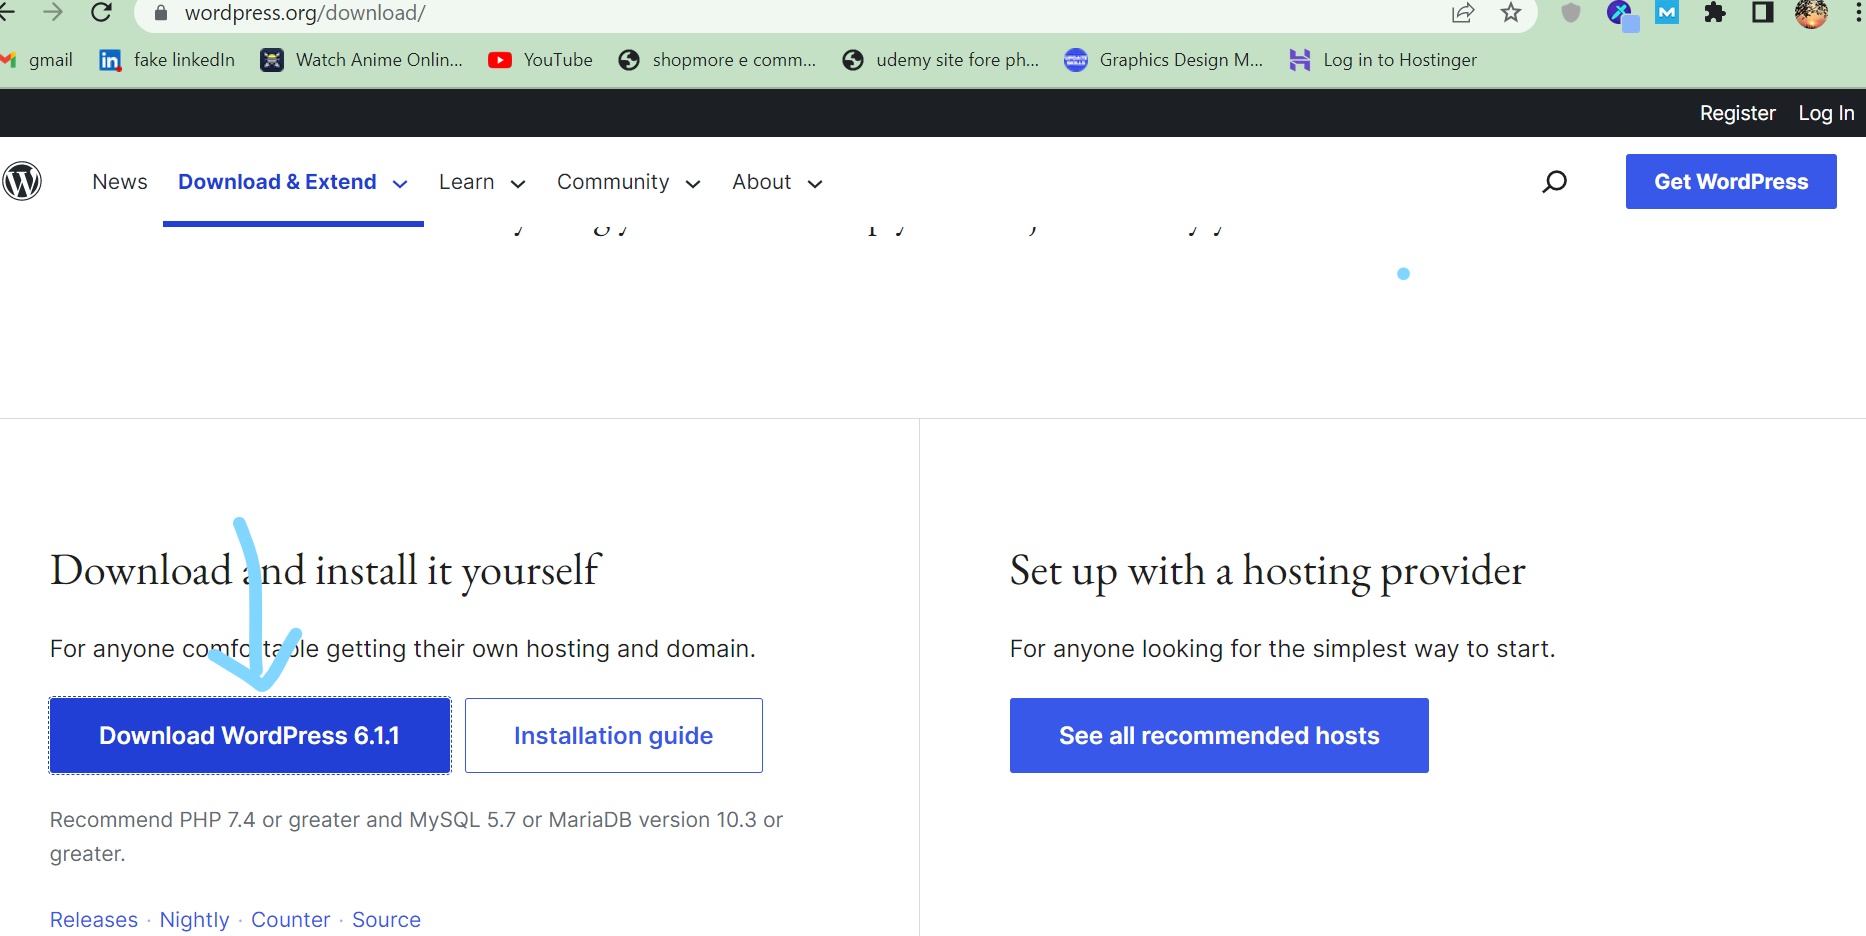
Step 4: Go to wordpress.org and download the latest WordPress zip file.
Download the WordPress zip file and unzip it and place it inside the folder you created. In my case, it is “wpdevcourse2”.The path is htdocs->wpdevcourse2->Wordpress(latest version) place all the WordPress files here.Your path is htdoc->foldername->Wordpress files.
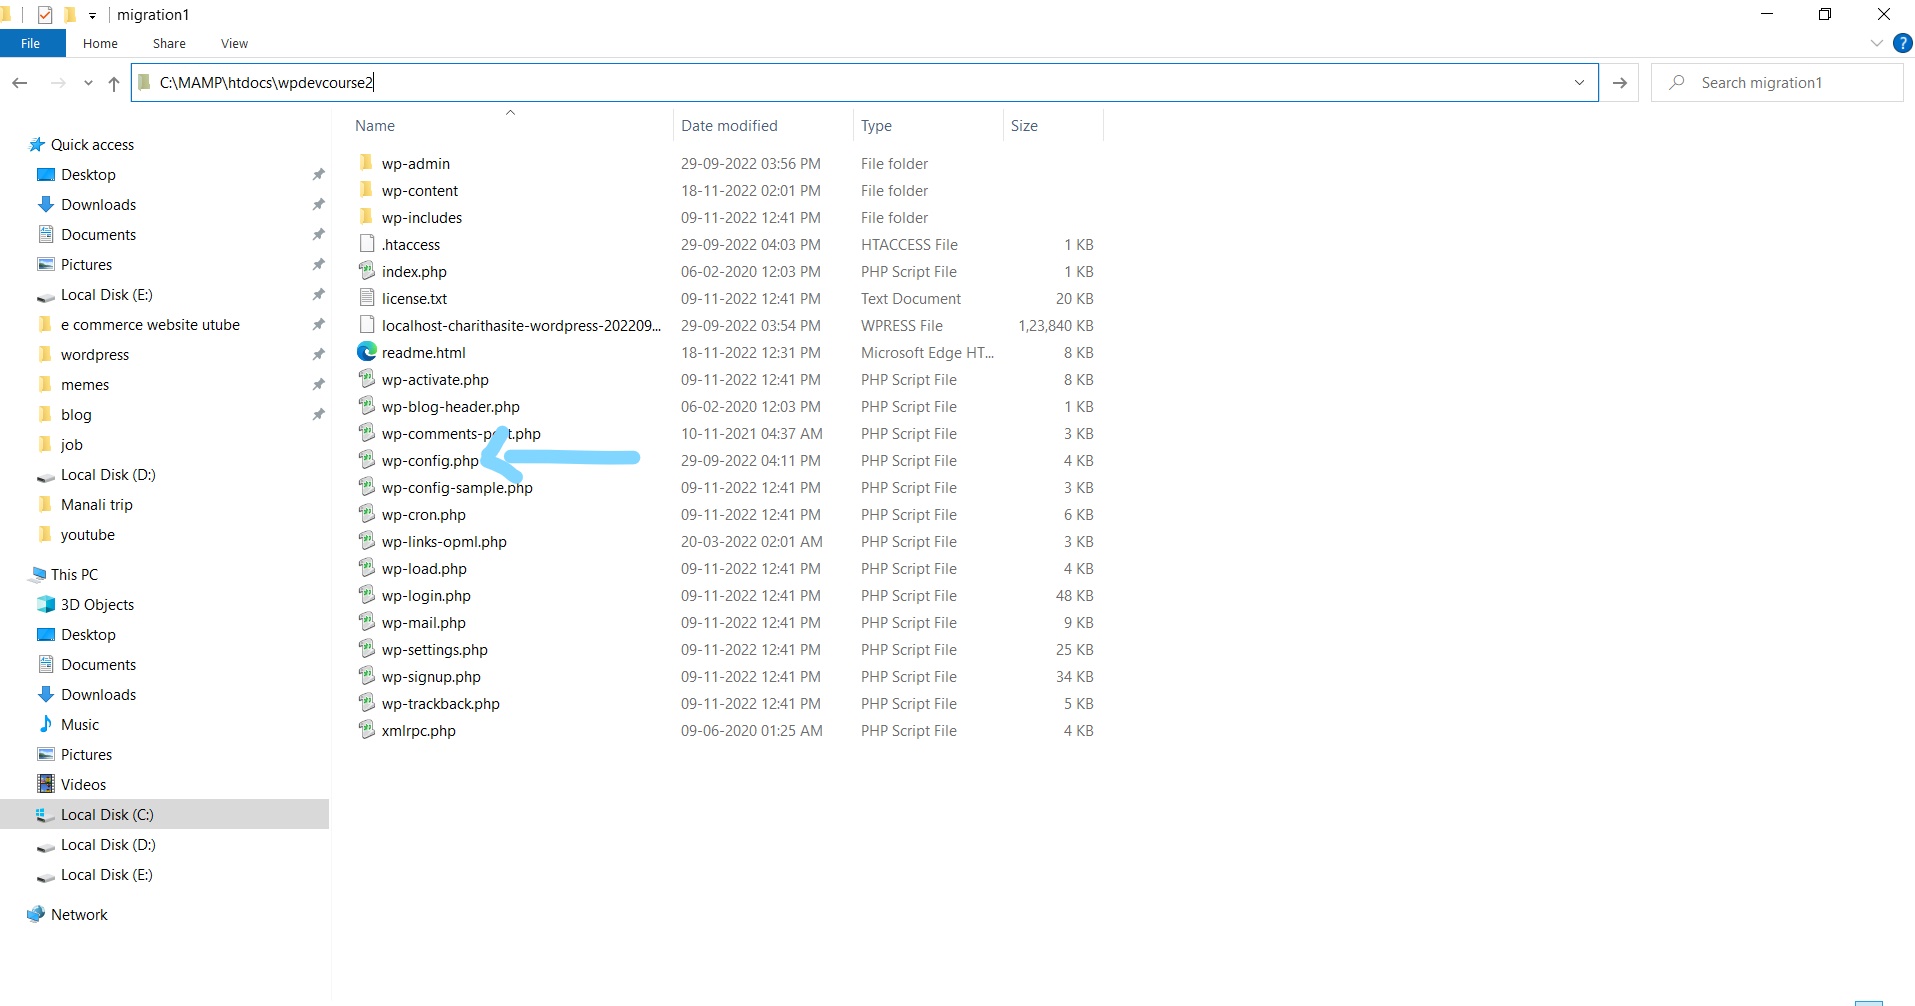
Step 5: Establishing a database connection.
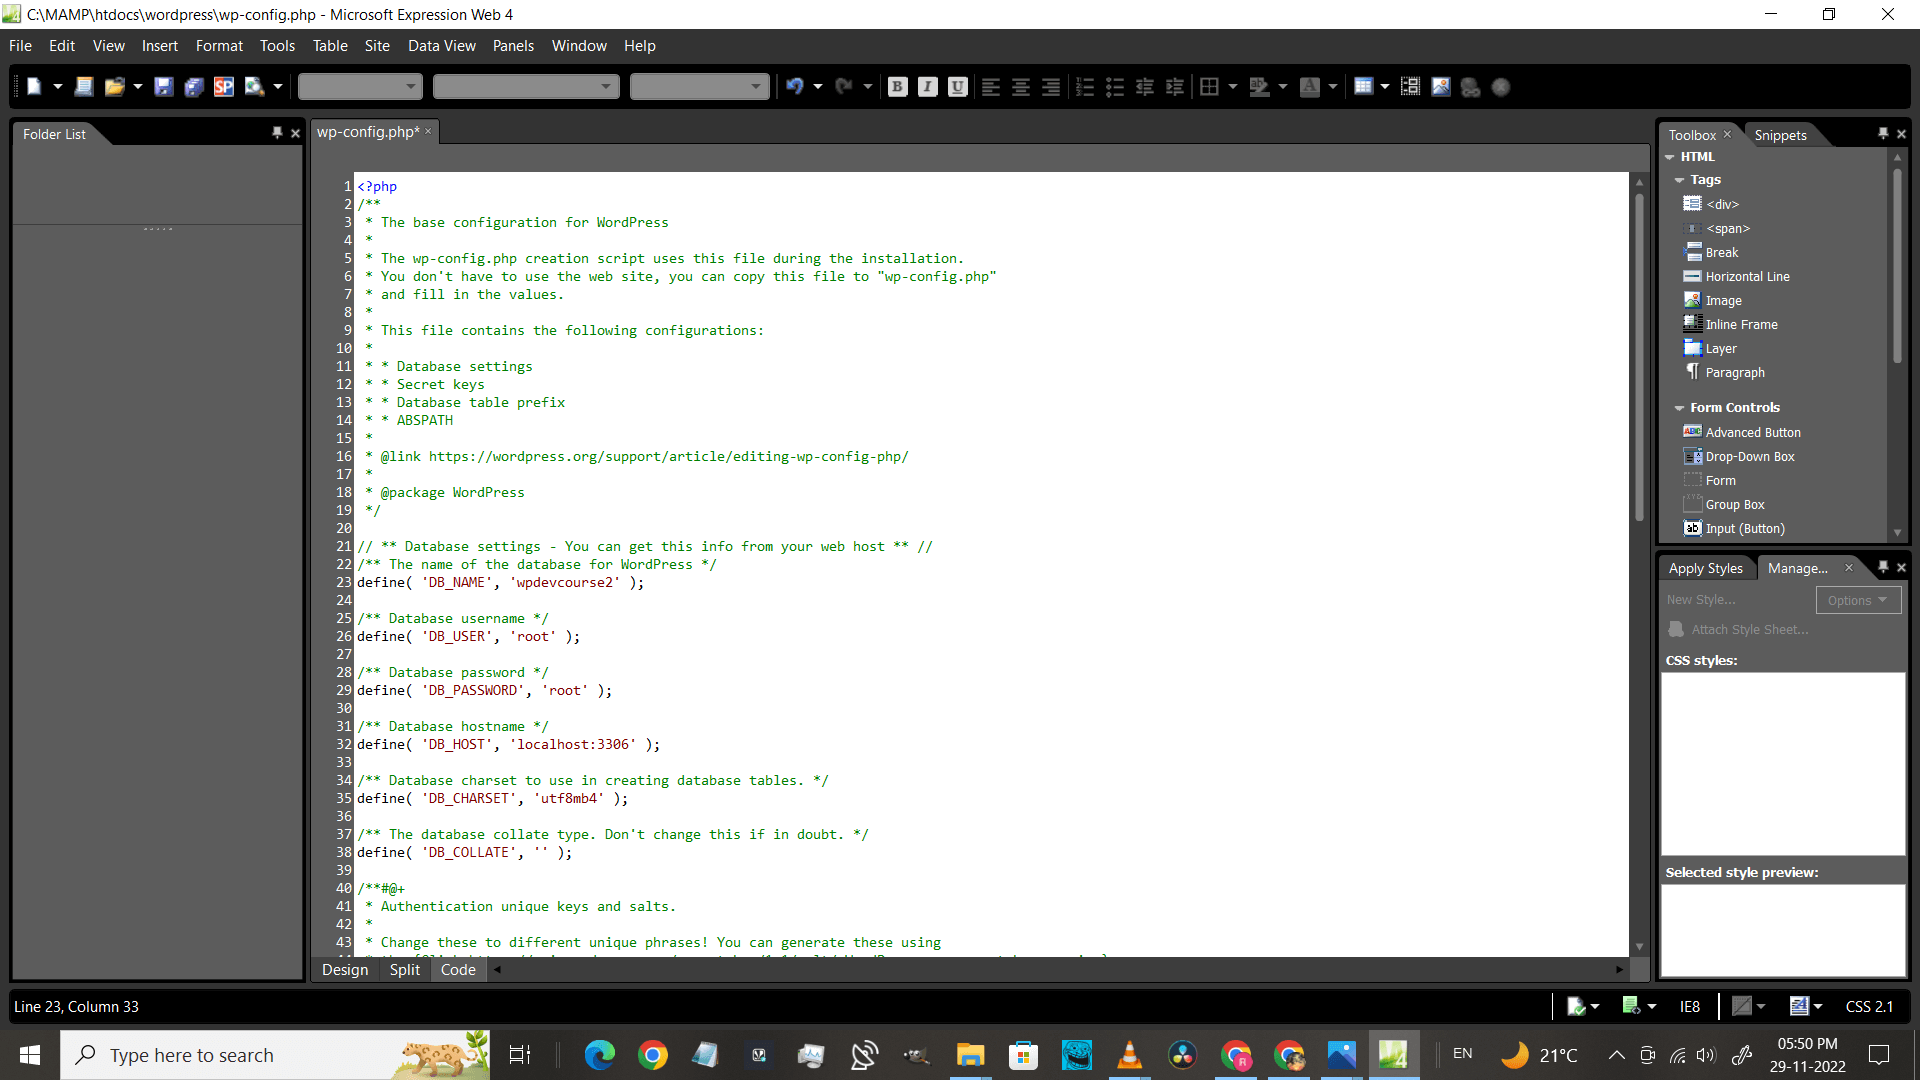
Go to wp-config.php/wp-config-sample (in some systems you can see the same file with another name as config-sample) as shown in the above image and edit(use atom/microsoftweb 4/any software which edits phpfile). You need to make minor changes here.
How to connect to MYSQL in MAMP?
This is a very important step. Here we give database, user, host, and port (from line number 23 to 32 ) to establish a connection with the database.
Give DB_NAME as the folder you created in which you placed WordPress files. In my case, it is “wpdevcourse” .Don’t forget to make sure the spelling is correct twice.
Give DB_USER as “root”. (you can find these details in MAMP openwebpage step2)
Give DB_PASSWORD as “root“.(you can find these details in MAMP openwebpage step2)
Give DB_HOST as “localhost:3306” .(you can find these details in MAMP openwebpage step2)
All these four details can be found on the ports tab on MAMP(step 2). Mostly user and password are root only. It is better to leave them with the same value. All the values will be the same for people in India. You need to edit only Db_Name.
Go to phpmyadmin page from openwebstart option .
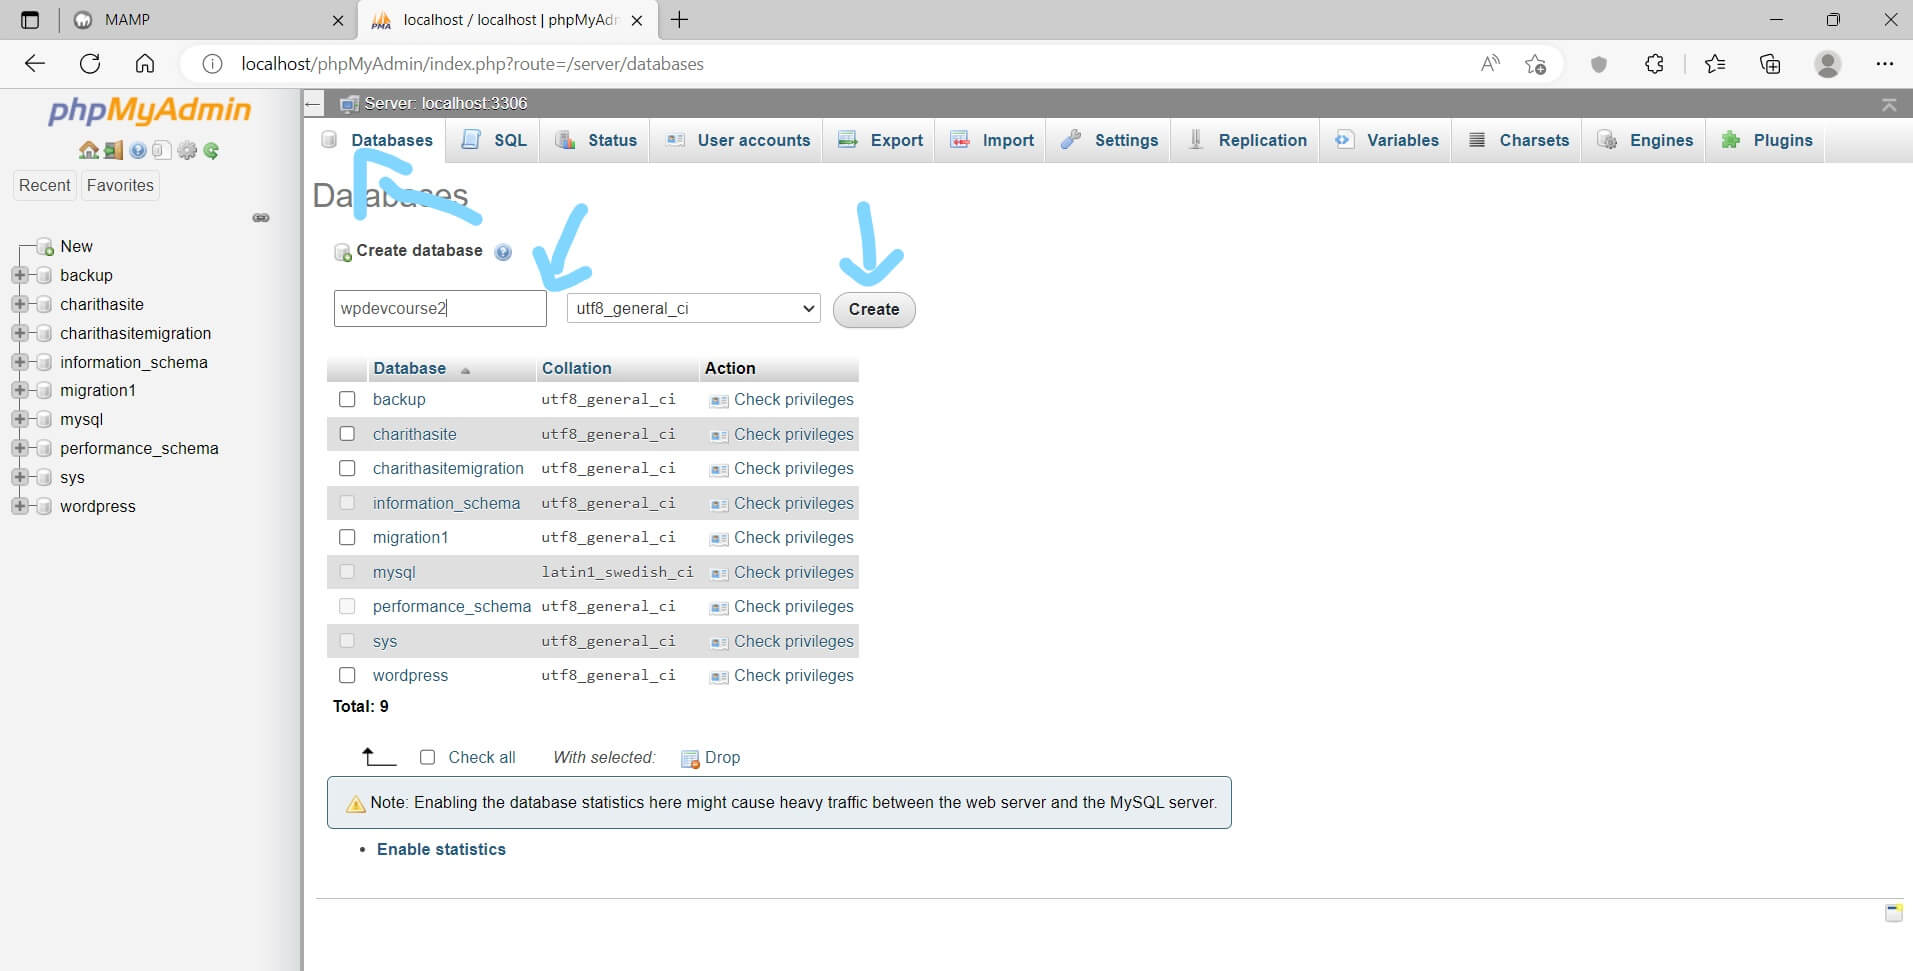
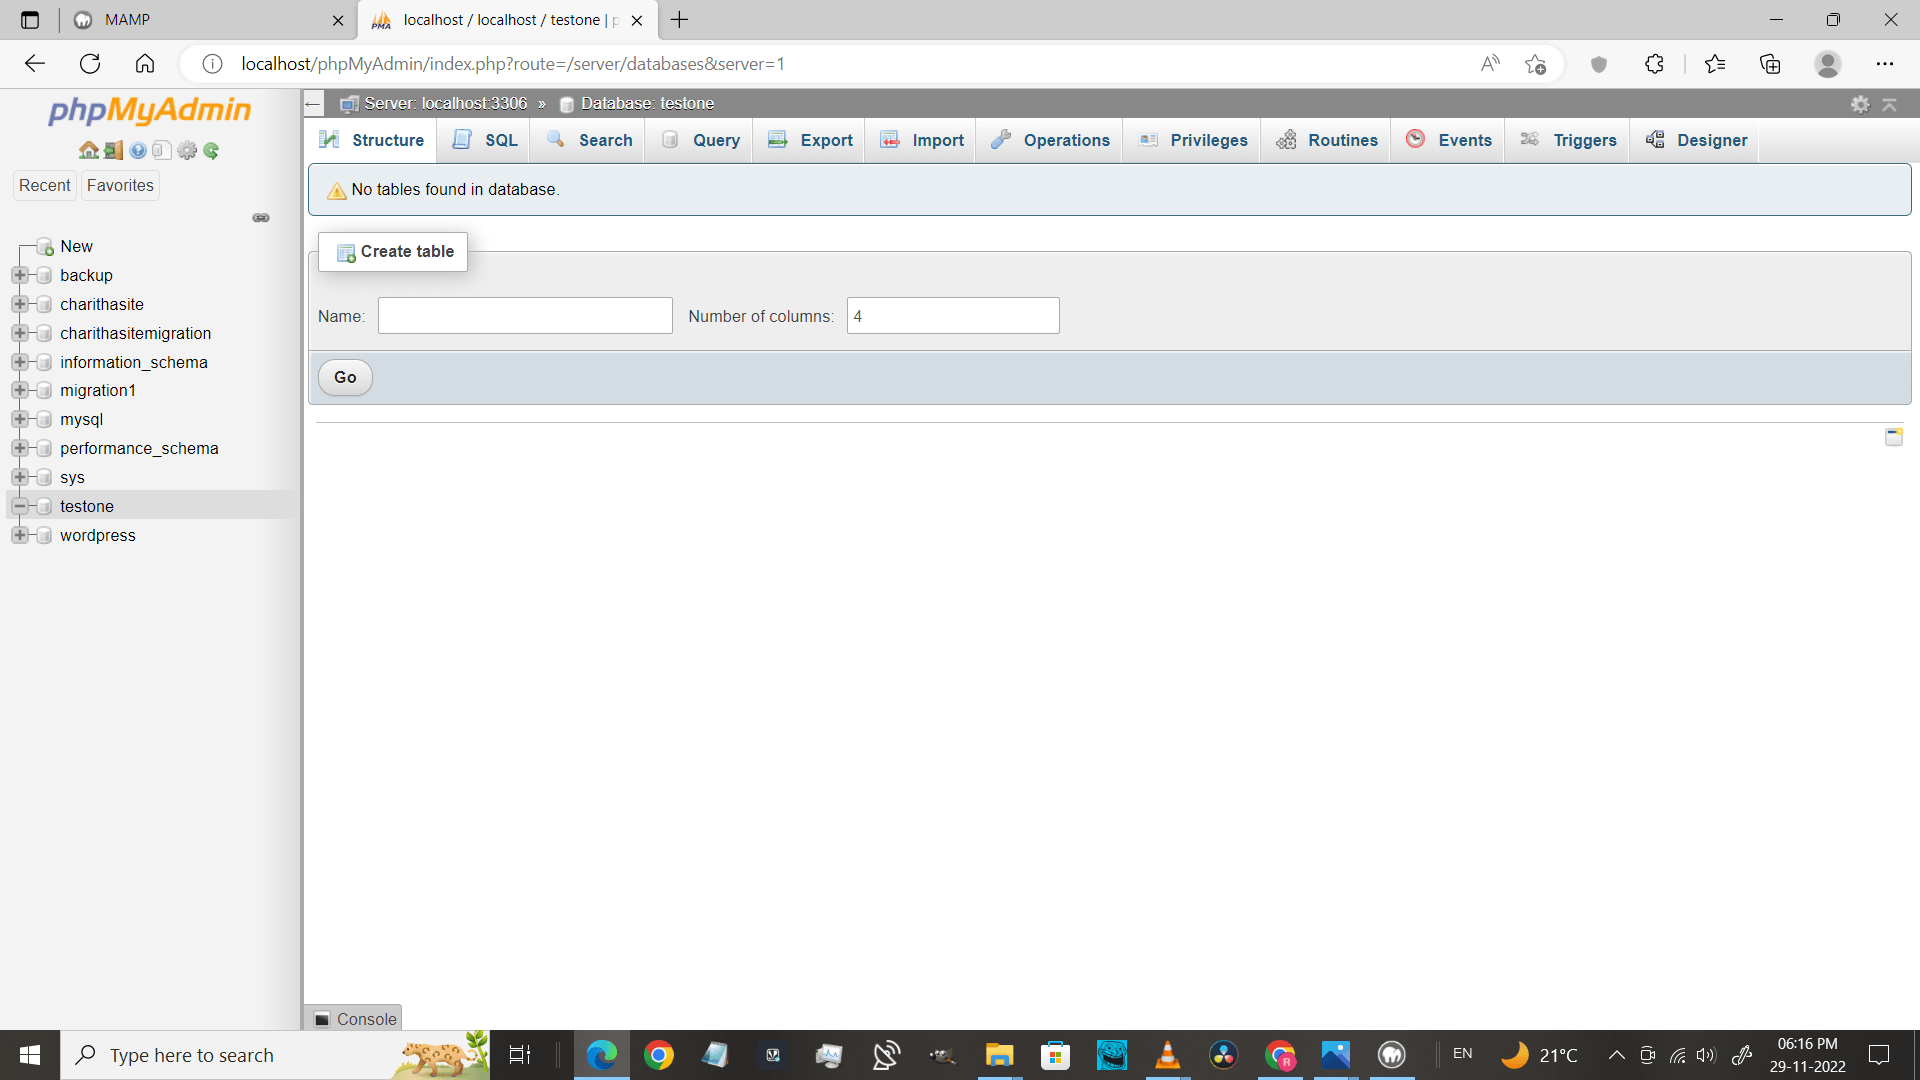
Click on a database and create the database with the same name as DB_HOST, In this case, it is wpdevcourse2 .
Here all the WordPress tables are created. Just click on the Go button.
Step 6: Installing WordPress on the website.
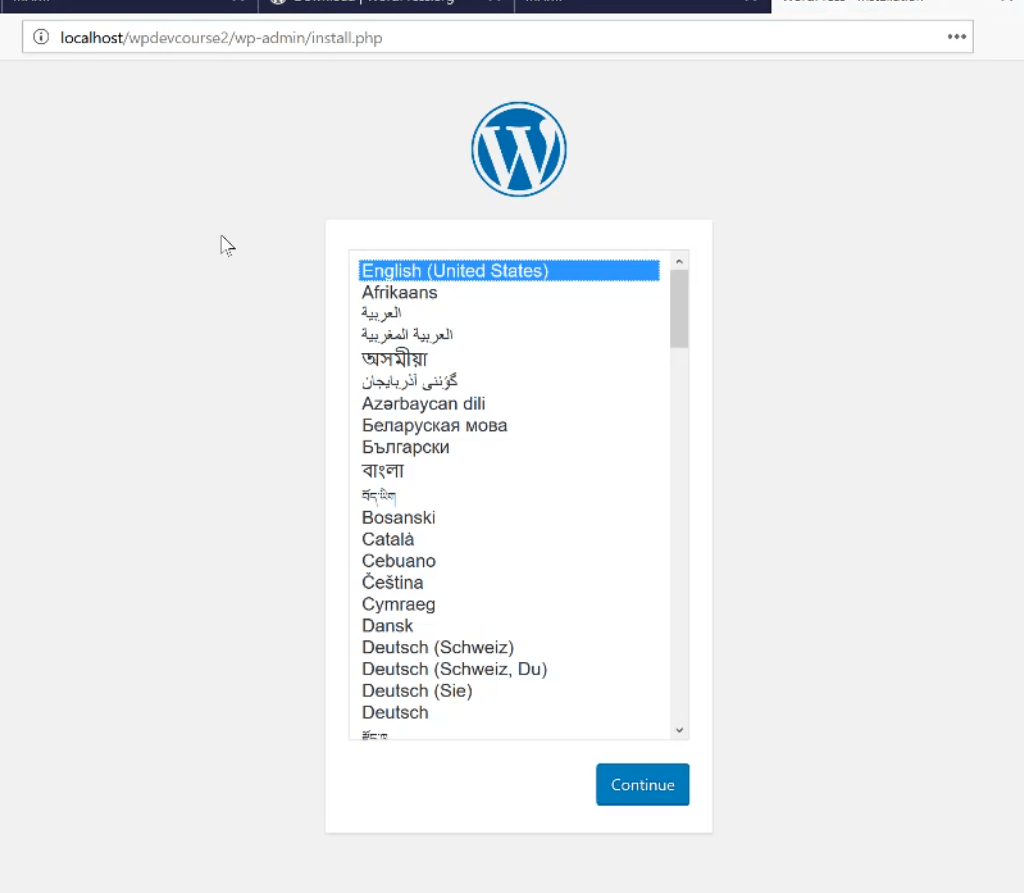
Open any browser (chrome or edge) and type “localhost/filename( you created in htdocs)”.In this case, it is “localhost/wpdevcourse2”.

For the first time, it takes some time to load. If in case it shows a page not found then definitely you have given the wrong name in the wp-config.php file, go there and check for the correct spelling.
How to install WordPress in MAMP?
It will ask to download WordPress. Click on continue.
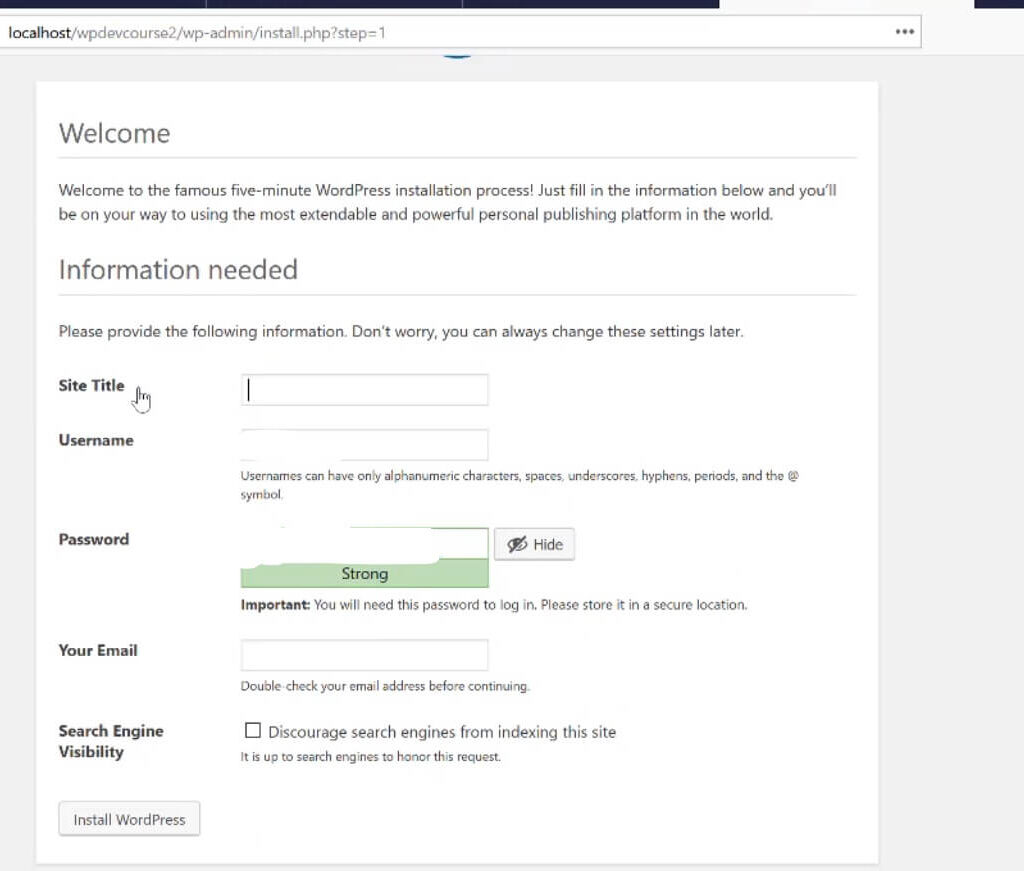
Give the sitename ,username, and password. This username and password you should remember to log in to your site. Click on Install WordPress.
Hurrah!! You have completed all steps!! All the best for designing!!
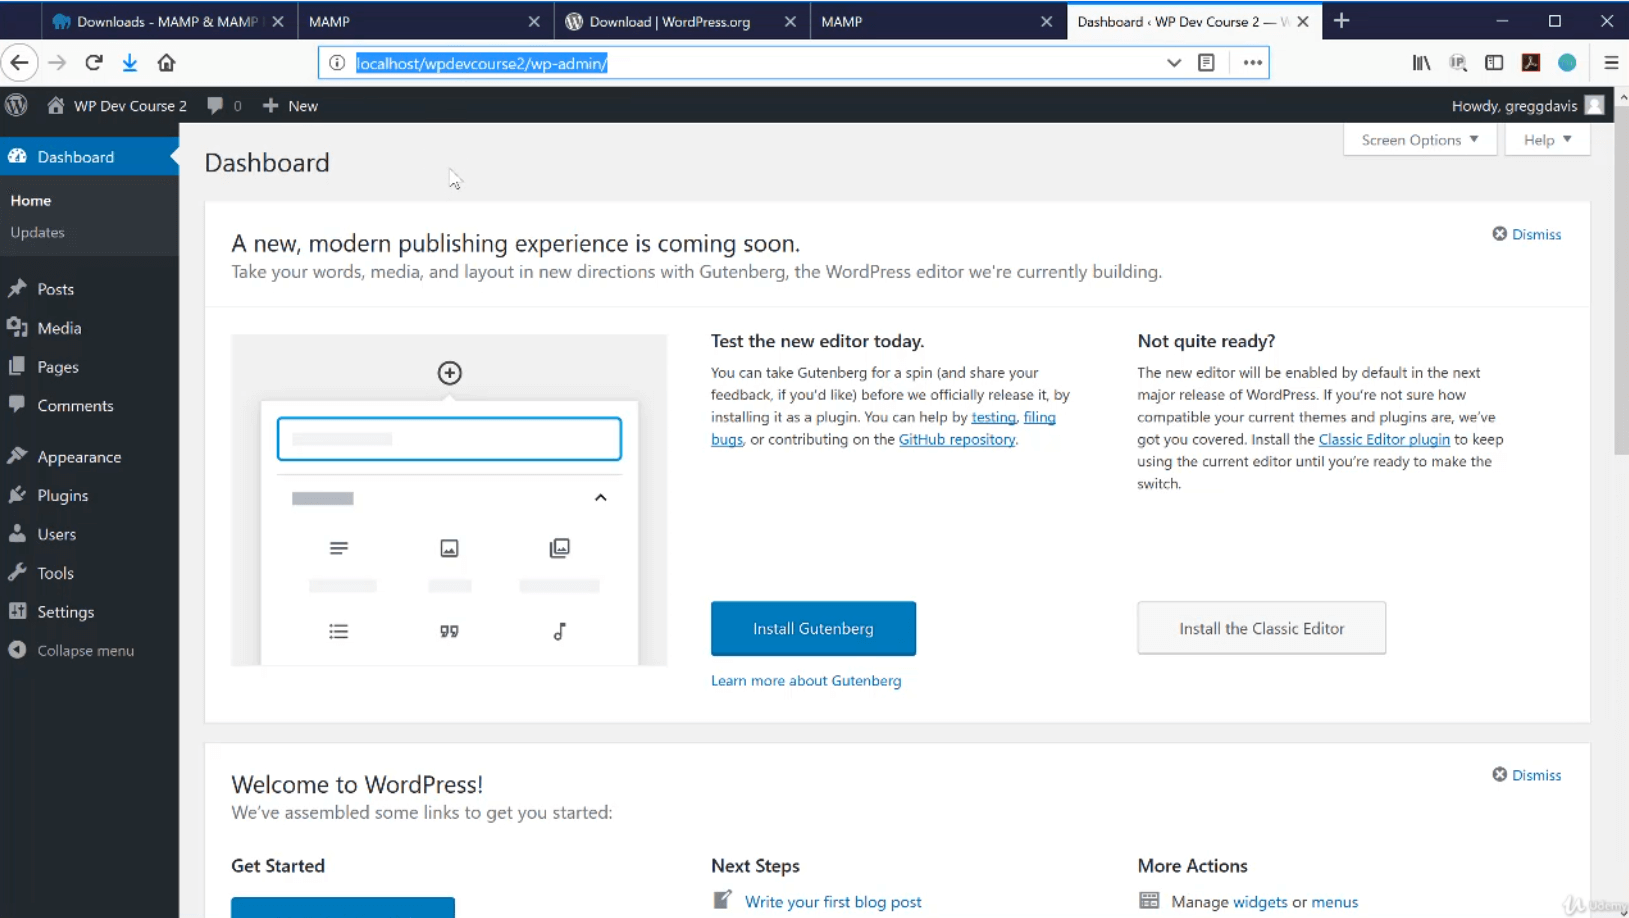
You can see the welcome dashboard and to go admin area type “localhost/filename( you created in htdocs)wp-admin”.
Conclusion.
In order to build the website you need a server and database.MAMP allows you to create a local environment to build websites remotely and these websites load faster.
You need to install MAMP and go to phpmyadmin for user, host, and port. Now in htdocs create a folder (any name) . Now you need to install WordPress and place the WordPress files in this folder, edit the wp-config file according to the port details you see in phpmyadmin, and give DB_HOST name as the file. Now go to your browser and type URL “localhost(the folder name you created) and that’s it. It asks to install WordPress and give credentials and you will be at the WordPress dashboard and you can build a website.
Common errors.
MAMP server is not started.
Make sure that both servers are on (Apache and MySQL) while starting MAMP.WordPress runs with a server and database. When working with MAMP, If you get this error on the website (showing an error establishing the Database connection system got no response ) then you should go and check that both of the servers are on.
MAMP cannot connect to localhost.
The name of the folder you give inside htdocs should be the same in DB_HOST (wp-config) file or else the URL “localhost/foldername says the page is not found.
Build Multiple Blogs ,E-Commerce ,Business Websites AllTogether.
MAMP can be used to build multiple websites .You can build various websites for Blog, E-commerce,Business,freelancing. The only thing you need to do is build one folder for each website and create the database with samename and hit the URL “localhost\filename” .In simple words repeat the process for as many websites you want to build
[…] How to install MAMP|How to connect MYSQL |How to install WordPress| […]